How To Enable GodMode Feature on windows 10
GodMode is a hidden folder that makes available a range of handy customization for your PC. GodMode Feature basically offers users to a single interface in Windows from where they can access all the settings, innumerable features, as well as customization options on Windows 10. This option is very useful as you could find almost all the settings of your computer in one place. GodMode essentially unlocks a centralized table of contents for all of Windows far-flung features and customization options. Drawing all your options together into a single interface and sorting them by tweak types. The best part of Godmode is that it is easy to install and not complicated.
Enable GodMode
First, we need to create a New Folder You could create the folder anywhere you like, I am creating it on my Desktop for easy access.
Right-click on Desktop
Select New and select folder option
A New Folder will be created.
Now select the new created folder to right-click and select rename
and rename the folder to GodMode.{ED7BA470-8E54-465E-825C-99712043E01C}.
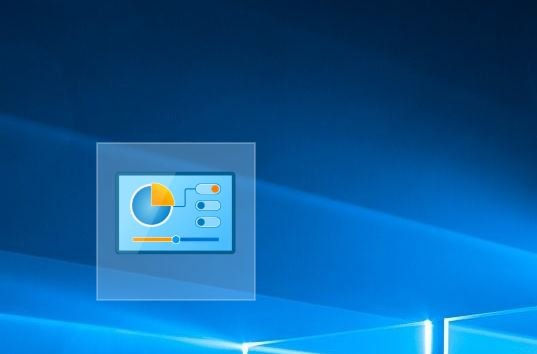
The folder icon will change and will look more like a Control Panel icon as bellow image.

Double-click on God Mode and it will take you to a window where you could find lot of settings or options.
One stop location to find all Tasks and settings of your Windows 10.

We can Easily add God Mode to Quick Access. Just right-click on God Mode Icon you created earlier and choose the option Pin to Quick Access.
You can easily create God Mode Shortcut to Start Menu in Windows 10. Just right click on the God Mode icon you have created earlier and select the option Pin to Start.


Comments